Pause Cards for Transitions
Autism transitions…they can be hard! Students with autism can find it difficult to transition from one activity to another, especially if they are engaged in a preferred activity.
I encourage the use of visual schedules to help those with autism predict what is coming up next in their day, but sometimes you still find yourself ready to teach a lesson and have a child who doesn’t want to put up a toy or refuses to move from the break area. What can you do to help make these transitions a little easier?
Enter the Pause Card.
I learned about this awesome trick from the NC TEAACH center at an Autism training I attended for SPED teachers. It, along with STOP cards, helped so much in my classroom! These would work great for both your special needs ministry and your home! And it’s an easy tool to use in inclusion or separate classroom setting.
Almost everyone knows what a Pause button is- we see it on TV remotes, game system remotes, on ipads, etc. As I was writing this, my 4-year-old son just asked why there was a bunch of pause buttons in our living room. Children with autism often love movies, ipads, and technology. This is key- the pause card utilizes a concept and a symbol that the child already understands.
So, how does it work?
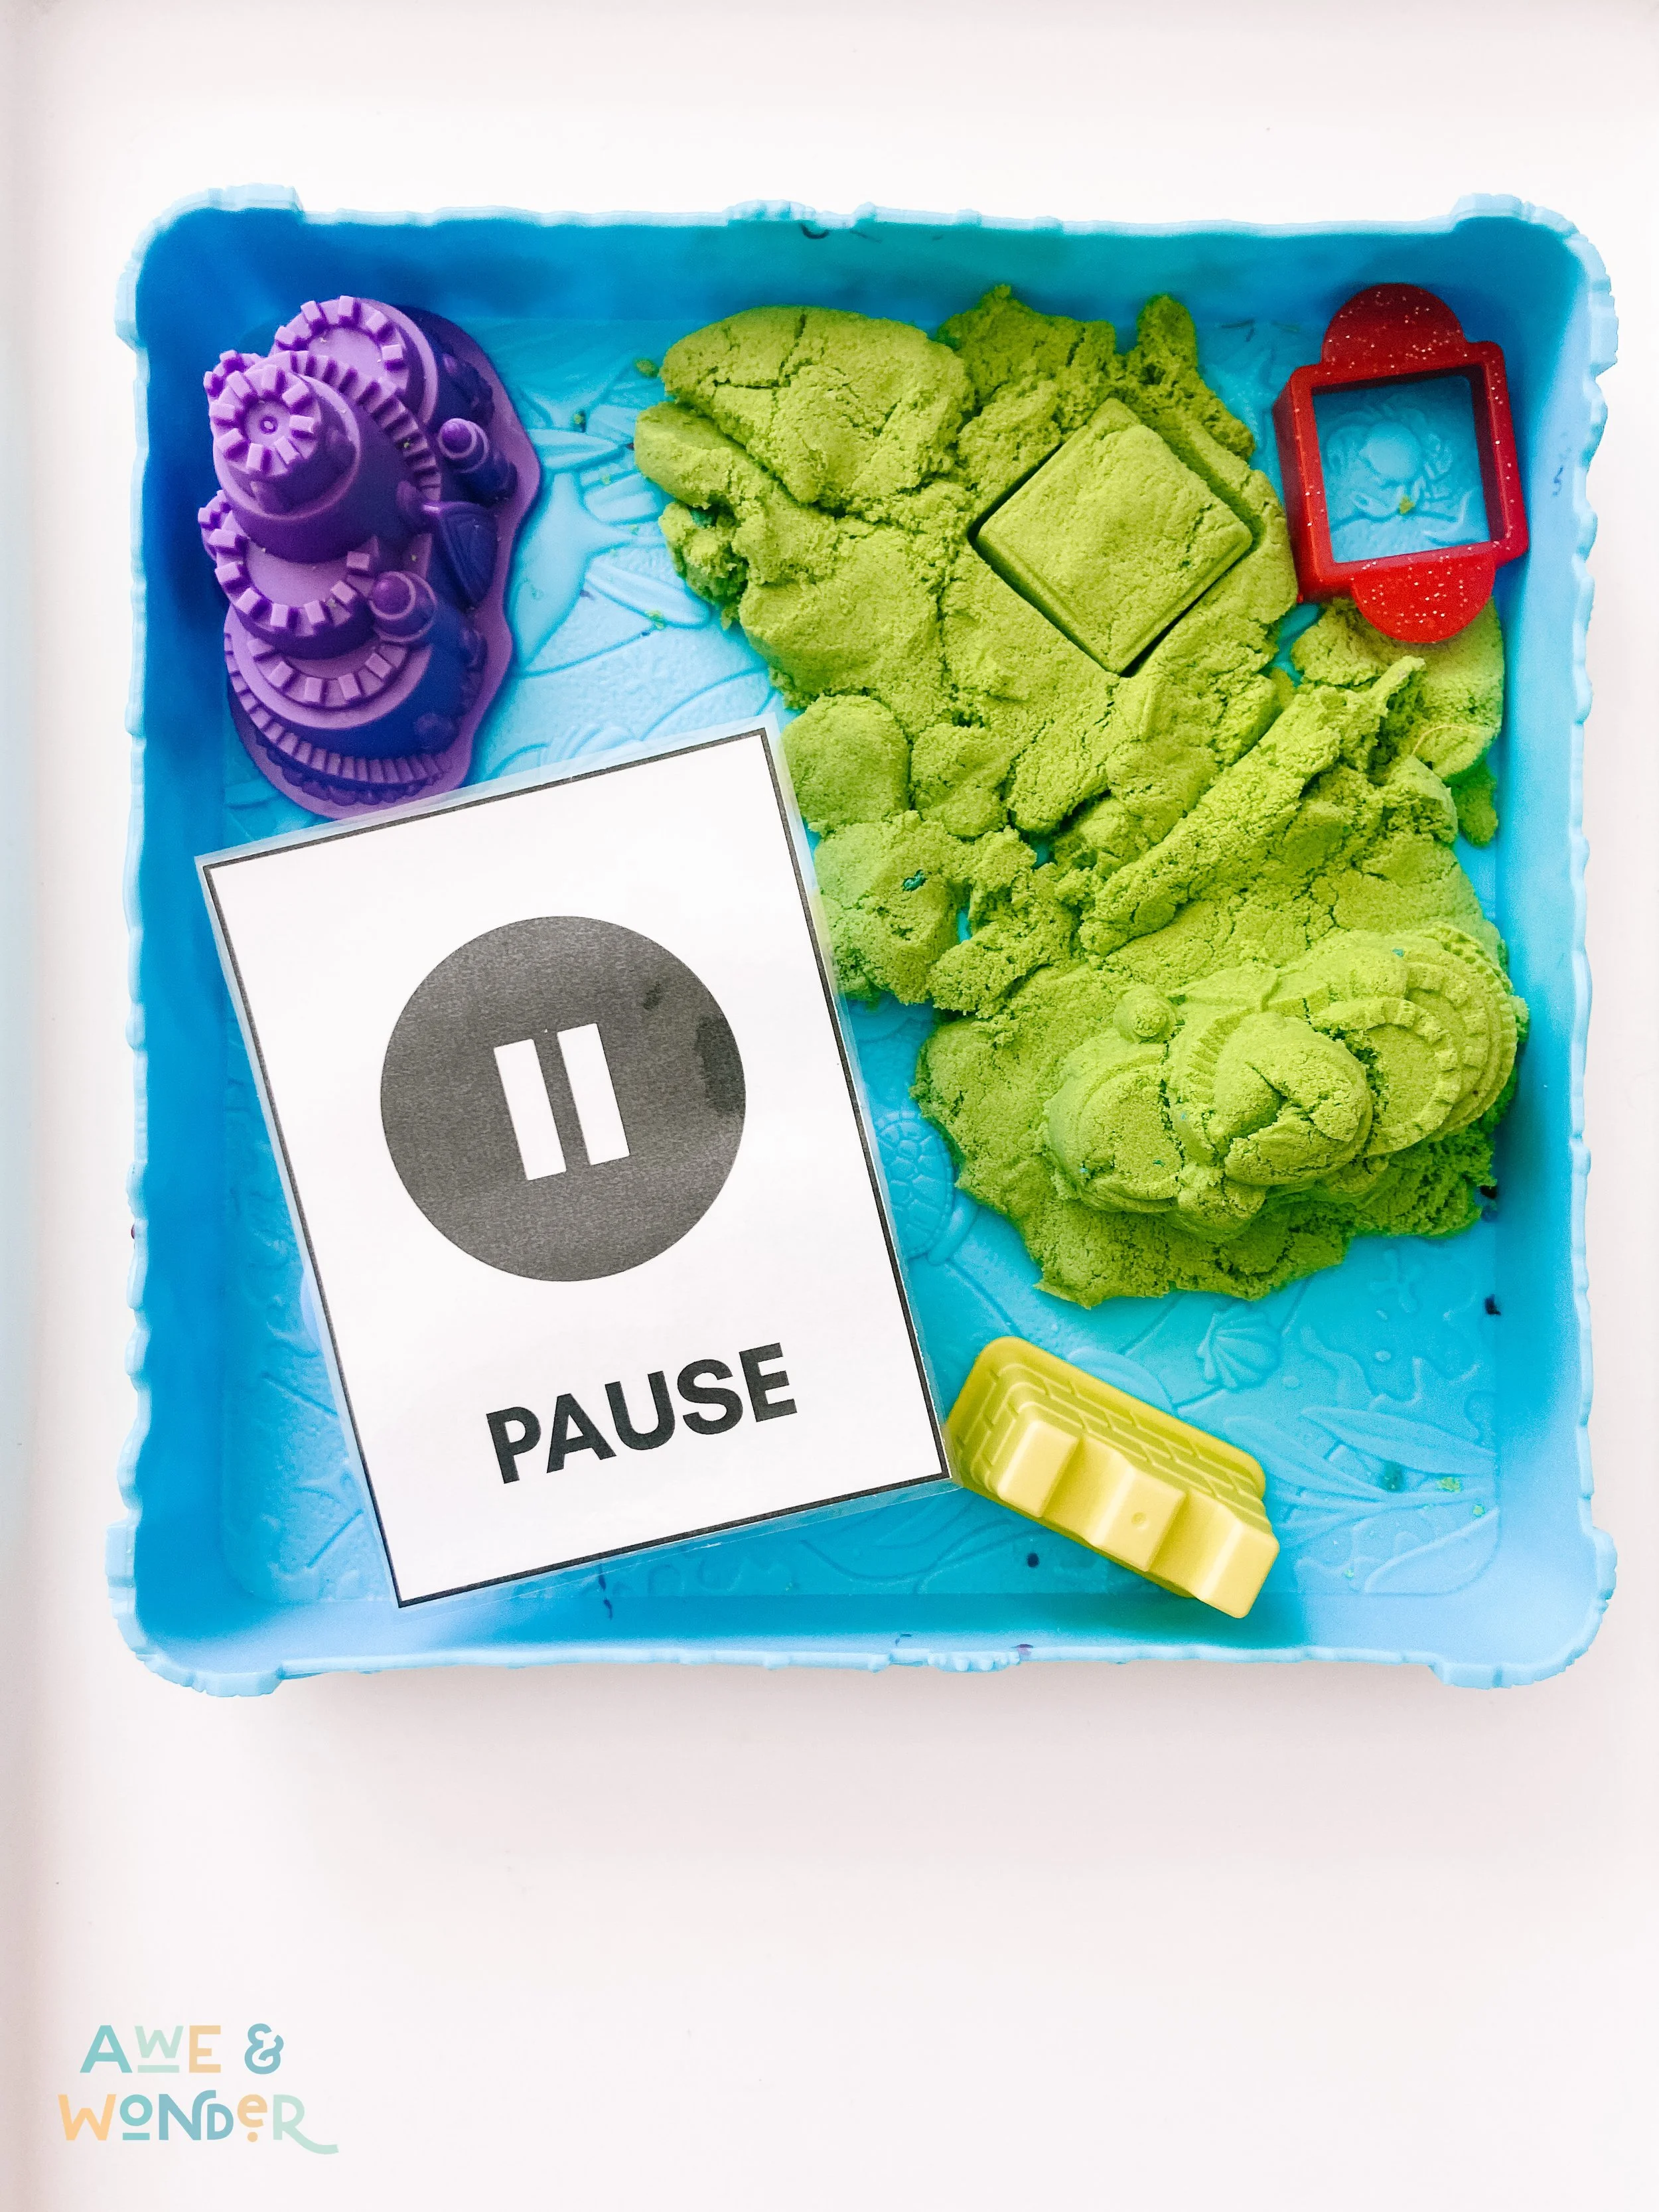
When it is time to transition to a new activity or a new space, take the pause card and lay it down on top of the activity that the student is doing. Or, if there isn’t something tangible to lay the card on top of, hand the card directly to the student.
This indicates to them that it is time to pause what they are doing, but they can return to it later. Do not put away the toy or activity- leave it as is until the student comes back to finish.
It is helpful to utilize the Pause Card in conjunction with a visual schedule, showing them when in their schedule they will be able to come back to the activity.
What if the child is engaged in an activity that they won’t be able to come back to later, and they need to clean up and move on to the next activity? Check out the Stop Card instead of the Pause card!
Introducing & Using the pause card
Before using the Pause card, introduce it to your student. Tell them what it is and show them the card. Practice using it with short tasks. Place a pause card down and give directions for them to get a tissue or another quick task. Celebrate when they walk away and come back- we want to praise positive behaviors!
You can then use the pause card for activities that take a little longer- maybe leaving a puzzle out while coming to group time for a Bible story or song.
Finally, you can use the pause cards for activities that will take a more extended amount of time, or involves leaving the classroom. Use a pause card before going to a large group room or outside to play.
Remember to make sure that students do in fact get to come back to the preferred activity when you use the card.
This tool was specifically created by the TEAACH team to be used with children with autism. However, I found in my classroom that it often worked well for other students as well. I had several students with Down’s Syndrome who responded well to these cards.
I’ve got a Freebie for you!
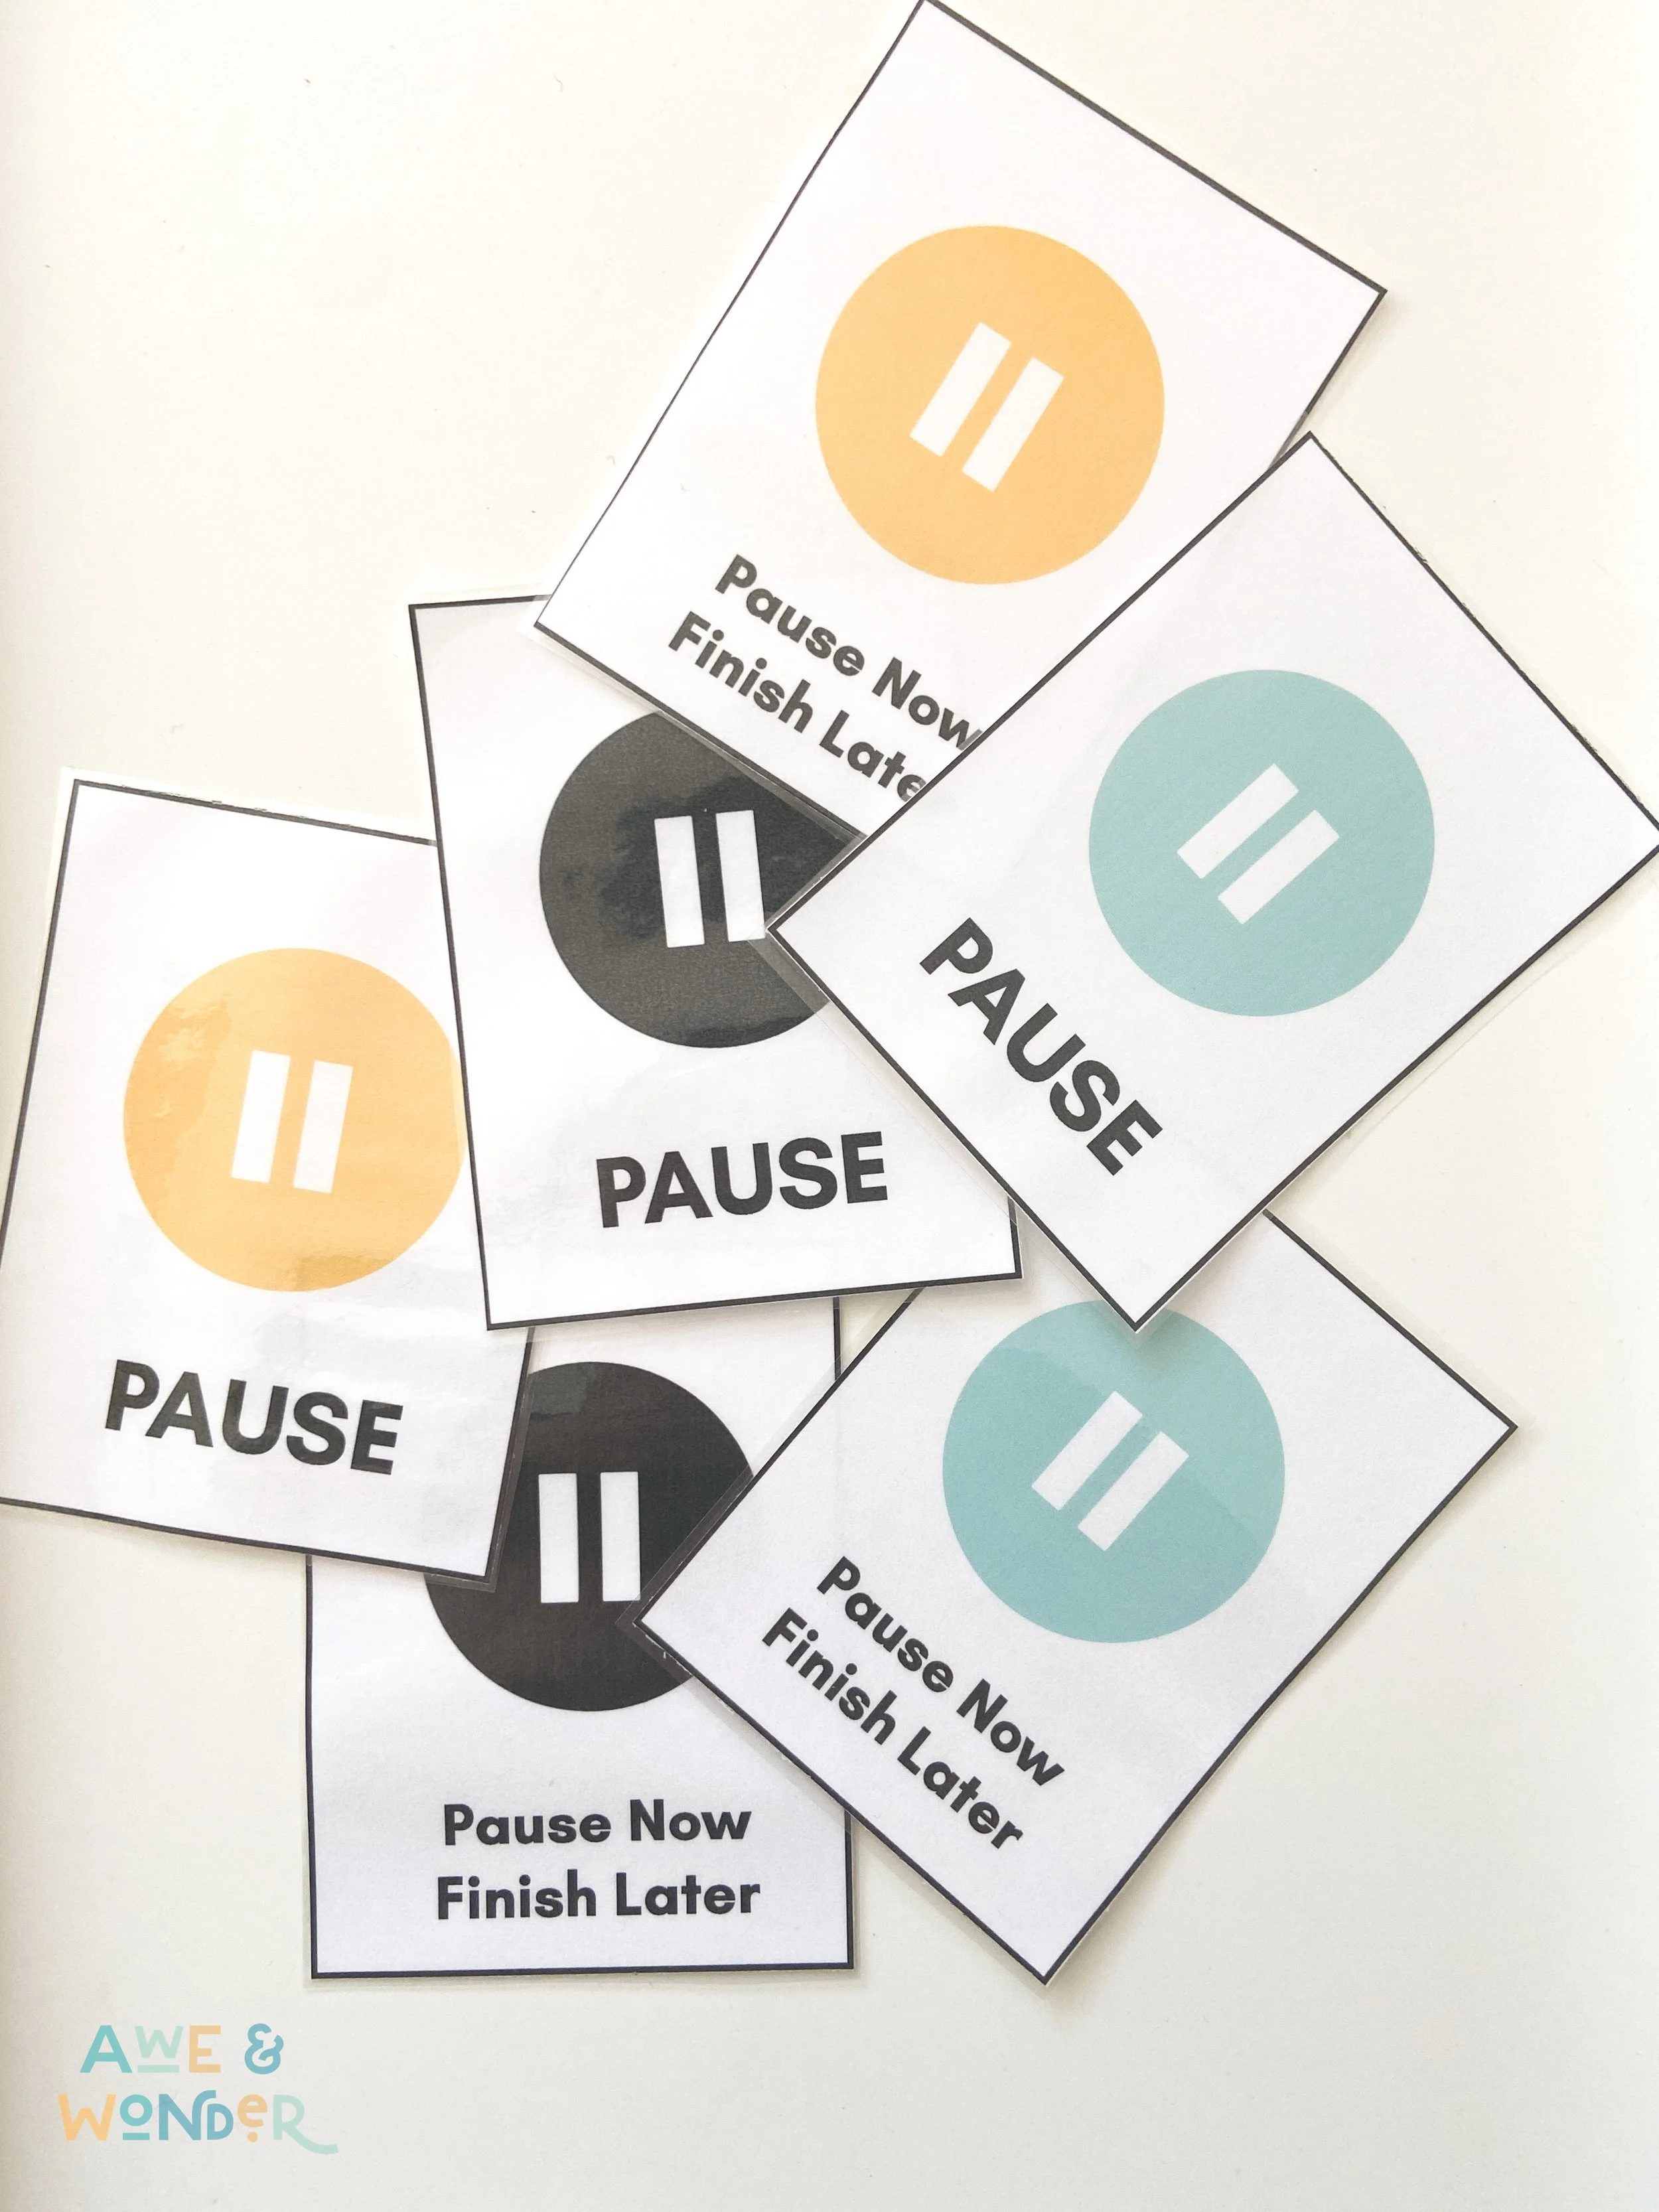
I’ve created a set of free Pause cards for you! You have several different color and wording options in this file, use what works best for your students. I pray that it is a blessing and that it helps ease some transition difficulties1
I printed, cut, and laminated my cards for extra durability. If you don’t plan to laminate, I’d suggest printing on card stock.
Click the image below to grab this freebie plus tips for classroom transitions at church!
- Adapted Bible Curriculum
- Awe & Wonder
- Bible Lessons
- Book Review
- Church Accessibility
- Church Ministry
- Classroom Management
- Classroom Tools
- Crafts
- Curriculum
- Disability Ministry
- Families
- Freebies
- Home Tools
- Parent Tools
- Recommended Resources
- Starting a Special Needs Ministry
- Visual Supports
- Volunteers


